Embarking on the journey of propagating plants through water is like unveiling nature's magic.
The process of rooting plant cuttings in water is not only a cost-effective method but also a fascinating way to witness the creation of new life in your garden.
In this in-depth guide, we will delve into the finer details of each step, ensuring that both novice and experienced gardeners can master the art of plant propagation.
-
Selecting the Right Plants: Begin your propagation venture by selecting plants that are well-suited for water propagation. While a myriad of plants can be propagated in water, focus on those that have proven success rates. Consider herbs like lavender, thyme, and oregano, as well as houseplants like snake plant, ZZ plant, and African violet.

-
Gathering Supplies: Before you begin, gather all the necessary supplies to create an efficient propagation station. You'll need high-quality scissors or pruning shears, a selection of clear glass or plastic containers for water propagation, and a rooting hormone to enhance the success rate of your cuttings.
-
Taking Proper Cuttings: Precision is key when taking cuttings. Choose healthy stems with several nodes and use sterilized scissors or pruning shears to make clean cuts. Ensure each cutting is between 4 to 6 inches long, with at least two or three nodes intact.
-
Removing Excess Leaves: To encourage successful root development, trim away excess leaves from the lower part of the cutting, leaving a few at the top. This helps reduce water loss through transpiration and directs the cutting's energy towards root growth.
-
Preparing a Water Propagation Station: Fill your chosen containers with room-temperature, distilled water. If you're using tap water, let it sit for 24 hours to allow chlorine to dissipate. Consider adding a small amount of rooting hormone to one of the containers to test its effectiveness in boosting root development.
-
Placing Cuttings in Water: Submerge the cut ends of the prepared stems into the water, ensuring that at least two nodes are submerged. Maintain a consistent water level, and change the water every few days to prevent the development of algae and bacteria.
-
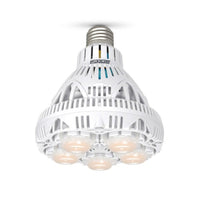
Creating an Optimal Environment: Place your water propagation station in a location with bright, indirect sunlight. A north or east-facing windowsill is ideal. Maintain a temperature between 65-75°F (18-24°C) to create a conducive environment for root development.
-
Monitoring and Patience: Regularly check the water level and the condition of the cuttings. Patience is crucial in water propagation, as it may take several weeks for roots to develop. Be attentive to any signs of rot or disease, removing affected cuttings promptly.
-
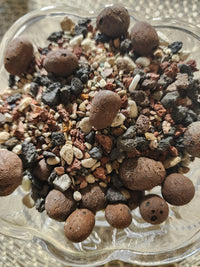
Transplanting Rooted Cuttings: Once your cuttings have developed robust roots (approximately 2-3 inches long), they are ready for transplanting. Choose a well-draining potting mix and carefully transplant each cutting into its own pot. Water the newly planted cuttings lightly and provide them with a gradual transition to their new environment.

-
Caring for Newly Rooted Plants: Treat your newly rooted plants with care. Gradually reintroduce them to their regular watering and feeding schedule. Keep an eye on environmental conditions, adjusting as needed to ensure the continued health and growth of your propagated plants.

Rooting plant cuttings in water is not merely a gardening task; it's an art form that allows you to play an active role in the creation of life.
By mastering the intricacies of each step, you'll unlock the full potential of water propagation, creating a flourishing garden filled with plants you've nurtured from their very beginnings.
So, gather your tools, embrace the details, and enjoy the journey of turning cuttings into a vibrant, thriving green haven. Happy propagating!
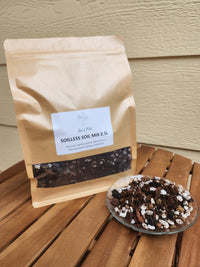
For all your gardening needs, explore our one-stop shop – your ultimate destination for quality soil, top-notch pruning tools, and a plethora of expert resources.


